
Table of Contents
- Understanding How Paver Joints Affect Water Runoff
- Polymeric Sand vs Regular Sand for Pavers
- Best Material to Fill Gaps Between Pavers
- How to Apply Polymeric Sand to Existing Pavers
- Polymeric Sand Blocking Drainage: When It Happens and How to Fix It
- How the Full Paver System Affects Water Runoff
- Choosing the Best Sand for Paver Joints by Climate and Use
- Frequently Asked Questions
Last Updated: October 13, 2026
Understanding How Paver Joints Affect Water Runoff
The best sand for paver joints to improve water runoff is a permeable joint material matched to your paver system, not simply the hardest-setting product on the shelf.
Homeowners often treat joint sand as an afterthought, then wonder why water pools against the garage door or weeds push through within a season.
Water leaves a paver surface three ways: it runs off the slope, drops through the joints, and exits through a drainage outlet. Joints handle the middle path.
Polymeric Sand vs Regular Sand for Pavers
Polymeric sand is fine sand blended with water-activated binders. Once cured, it forms a semi-rigid joint that resists erosion, weed growth, and insect nesting. Regular sand, also called graded sand or jointing sand, stays loose and drains freely but washes out over time.
| Joint Material | Water Movement | Stability | Maintenance | Best For |
|---|---|---|---|---|
| Polymeric sand | Slower, near-impermeable once cured | High, resists paver movement | Low, reapply rarely | Patios, walkways, low-slope areas |
| Regular graded sand | Fast, highly permeable | Moderate, pavers can shift | High, top up seasonally | Free-draining areas, permeable systems |
| Permeable joint materials | Fast, designed for infiltration | Moderate to high | Moderate | Driveways, stormwater-conscious sites |
Polymeric sand wins on stability; regular sand wins on permeability. Neither wins outright.
The most common failure we see is polymeric sand applied too wet or too dry. Over-watering during activation washes the binder out of the joint and leaves a hazy film on the paver face. Under-watering leaves the binder unactivated, so the joint crumbles within weeks. Follow the bag’s activation window exactly.
Best Material to Fill Gaps Between Pavers
The best material to fill gaps between pavers depends on joint width, slope, and how much water you need to move. A ¼-inch joint on a covered patio and a 1.5-inch joint on an exposed driveway solve different problems.
Here are common options for joint materials:
- Polymeric sand – fine sand with water-activated binders, cured to a semi-rigid joint. Infiltration is negligible once cured, so water leaves by slope and outlet. Best for patios, walkways, and surfaces where paver movement is the main worry.
- Graded sand – washed, screened sand sized for consistent joint fill. It is the most permeable common joint fill, passing water at rates comparable to an open-graded base, making it the default for free-draining and permeable paver systems. It washes out, so it needs annual top-ups.
- Permeable joint materials – engineered aggregates and resin-based fills that let water pass while locking pavers. They sit between graded sand and polymeric sand: more stability than plain sand, far more infiltration than cured polymeric. Best for driveways and sites with runoff requirements.
- Crushed stone chips – coarse aggregate for wide joints, typically ½ inch and up. Very high permeability, essentially no interlock. Best for decorative or heavy-drainage applications, not tight joints.
Pros and cons at a glance:
- Polymeric sand: strong stability, low weed pressure, but near-zero infiltration and unforgiving to install.
- Graded sand: excellent permeability, cheap to top up, but washes out annually.
- Permeable joint materials: good drainage and better stability than plain sand, but higher cost.
Matching Joint Material to Joint Width and Slope
Joint width and surface slope set hard limits on what will work:
- Joints under ¼ inch: polymeric sand or a fine permeable joint material. Coarse aggregate will not seat, and graded sand washes out quickly.
- Joints ¼ to ½ inch: the standard range. Polymeric sand, graded sand, and most permeable joint materials all fit.
- Joints over ½ inch: crushed stone chips or a coarse permeable fill. Fine sand will not bridge the gap and will migrate.
Sand Types Compared: Graded Sand, Polymeric Sand, and Permeable Joint Materials
Think of it as a spectrum from drainage to rigidity: graded sand at the drainage end, polymeric sand at the rigidity end, and permeable joint materials in the middle, the fastest-growing choice for driveways where runoff matters.
The trade-off is maintenance versus upfront cost. Graded sand is cheapest to buy and most expensive to live with, needing annual top-ups. Polymeric sand is the opposite: higher upfront cost, lower maintenance, almost no infiltration.
If your pavers sit on a permeable base with an open-graded sublayer, filling the joints with polymeric sand can defeat the entire system. The base is designed to pass water, and the joints become the bottleneck. Match the joint material to the base, not the other way around.
Do not assume “permeable joint material” means the same thing across brands. Some products are open-graded aggregate with no binder; others are resin-bound. The aggregate versions drain faster but need more maintenance; the resin versions hold pavers better but drain more slowly. Read the manufacturer’s stated infiltration range before you buy.
How to Apply Polymeric Sand to Existing Pavers
Applying polymeric sand to existing pavers requires careful prep. Skipping proper preparation can lead to sand failure within one season.

Step-by-Step Application for Proper Joint Depth and Activation
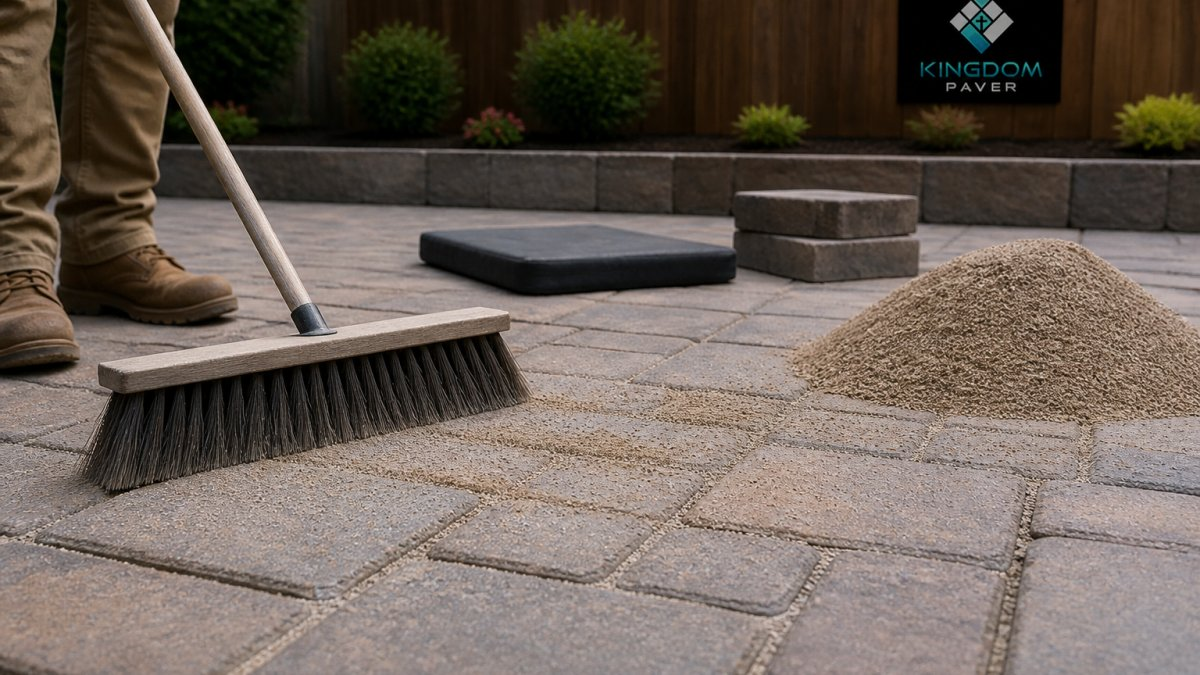
- Clean the joints. Pressure-wash or hand-scrape out old sand, weeds, and debris. Joints should be empty to roughly two-thirds of the paver depth.
- Let the surface dry completely. Damp joints cause the binder to set prematurely and clump.
- Sweep the sand in. Work in small sections, pushing sand across the surface at a 45-degree angle to the joints.
- Compact the surface. Run a plate compactor over the pavers to settle sand into the joints.
- Top off low joints. Re-sweep and re-compact any joint that did not fill to depth.
- Clear the surface. Blow or sweep off all excess sand before wetting. Leftover sand becomes haze.
- Activate with water. Mist in light passes until the joint is saturated but not flooded. Two passes usually do it.
- Let it cure. Keep foot traffic off for at least 24 hours and vehicles off longer.
Expected result: Joints filled flush to just below the paver chamfer, with no loose sand on the surface and no haze after curing.
Polymeric Sand Blocking Drainage: When It Happens and How to Fix It
Polymeric sand blocking drainage happens when the cured joint becomes the least permeable part of the system. That is by design, but it becomes a problem when the site relies on joint infiltration to handle stormwater. Signs: water sits after rain, puddles linger in low spots, or joints shed water rather than absorbing it.
Fixes, in order of effort:
- Re-grade the surface slope. A slope of roughly 1 to 2 percent away from the structure moves far more water than any joint material.
- Add or clear a drainage outlet. A channel drain, French drain, or pop-up emitter gives water somewhere to go.
- Switch joint material. In areas that must infiltrate, replace polymeric sand with a permeable joint material.
Joint sand is one layer of a drainage system. If the base, slope, and outlets are wrong, changing the sand will not fix the pooling. Diagnose the whole system before you re-sand.
How the Full Paver System Affects Water Runoff
Runoff performance is decided by the base layer, surface slope, and drainage outlet working together, with joint sand playing a supporting role. A paver system is a stack: if any one layer fails, the whole system backs up, with the symptom usually showing at the surface, far from the actual cause.
Base Layer, Surface Slope, and Drainage Outlets
The base layer is the compacted aggregate beneath the pavers. An open-graded base passes water; a dense-graded base holds it. The surface slope determines how fast water leaves the pavers.
A common pattern: homeowners replace joint sand to fix pooling, then watch the same puddle return within a season. The joint was never the bottleneck, the base was saturated, the slope was flat, or the outlet was blocked, and new sand just hid the symptom.
Diagnosing Where Runoff Actually Fails
Before you buy any joint material, run a simple field test. You need a bucket of water, a stopwatch, and a hose.
- Pick three spots: a high point, a mid-slope area, and the low spot where water pools.
- Pour a measured amount, a gallon is enough, onto each spot and time how long it takes to disappear.
- Read the result:
- Disappears in seconds: joints and base are draining. The problem is elsewhere, likely slope or outlet.
- Disappears in a minute or more: the joint or base is partially clogged. Clean the joints first, then retest.
- Sits for several minutes or runs to one spot and stops: the base is saturated or the slope is wrong. Joint material will not fix this.
- Check the outlet. Walk the perimeter and confirm any channel drain, French drain, or pop-up emitter is clear. A blocked outlet backs water up through the entire stack.
- Check the slope. A 4-foot level with a ½-inch shim under one end gives roughly a 1 percent fall. Most residential paver surfaces should fall between 1 and 2 percent away from the structure. Anything flatter ponds; anything steeper erodes loose joint fill.
What Each Layer Contributes
- Joint material: controls how fast surface water enters the base. Permeable fills and graded sand pass water; cured polymeric sand does not.
- Base layer: controls how fast water moves downward. Open-graded aggregate drains; dense-graded aggregate and compacted clay hold water and force it sideways.
- Surface slope: controls how fast water leaves the surface before it reaches the joints. A 1 to 2 percent fall moves far more water than any joint material choice.
Stormwater management guidance for residential sites
Choosing the Best Sand for Paver Joints by Climate and Use
Climate and traffic decide the joint material more than personal preference. In hot, humid regions with heavy summer storms, drainage capacity matters more than rigidity. In hard freeze-thaw cycles, stability matters more, because water freezing inside a joint pushes pavers apart.
Use this decision framework:
- Hot and storm-prone, low traffic: permeable joint material or graded sand.
- Hot and storm-prone, driveway traffic: permeable joint material with a properly sloped surface.
- Freeze-thaw climate: polymeric sand, applied to full joint depth.
- Covered patio, minimal water: polymeric sand.
For homeowners in master-planned communities with strict drainage requirements, the joint material is often the deciding factor in whether a patio passes inspection.
Pooling water, shifting pavers, and joints that wash out after every storm all trace back to one root cause: a paver system where the joint material does not match the base, slope, and drainage. Our team handles professional installation of patios and walkways, custom outdoor kitchens and fire pits, and durable driveway construction.
Frequently Asked Questions
What type of sand is best for paver joints?
Polymeric sand is the best choice for most paver joints because it hardens after activation and locks pavers in place, reducing movement and weed growth. For areas that need maximum water infiltration, like a permeable paver system, use a permeable joint material such as open-graded sand or a resin-based joint filler. Regular graded sand is a budget option but erodes quickly and does not stabilize joints. Match your choice to your drainage goals and climate.
Does paver sand help with drainage?
Paver sand can help with drainage if it allows water to pass through the joints. Polymeric sand, once cured, limits water infiltration and can block drainage, especially if the base layer is not designed to handle runoff. Regular sand and permeable joint materials let more water through, but they require more maintenance. The full paver system, including the base layer, surface slope, and drainage outlets, determines how well water moves away from the surface.
Can polymeric sand block water from draining between pavers?
Yes, polymeric sand can block water from draining between pavers if it is applied too thick or if the joints are not cleaned out properly. The cured binder fills the joint and reduces permeability. On a patio with poor slope or a clogged base layer, this can lead to pooling and surface water. To avoid this, use polymeric sand only where joint stability matters more than infiltration, and ensure your base and drainage outlets are working.
How do you improve drainage around a paver patio?
Improve drainage by first checking the base layer and surface slope. Water should flow away from the house at a minimum 1% to 2% grade. Clean out old joint sand and refill with a material suited to your runoff needs, such as permeable sand or polymeric sand for stability. Add a drainage outlet like a channel drain or French drain if water pools. For sloped driveways, consider a permeable joint system that lets water infiltrate rather than run off.


