
Last Updated: October 31, 2026
Quick Summary
A paver patio maintenance schedule is a set of recurring cleaning, joint care, and inspection tasks timed to the seasons and to how much traffic the patio gets. Sweep weekly, rinse monthly, check joints twice a year, and deal with stains and weeds the moment you spot them.
- Sweep the whole surface weekly with a stiff broom, pushing grit out of the joints rather than into them.
- Rinse monthly with a garden hose and medium-pressure nozzle, letting water run toward the drainage slope.
- Check joint sand twice a year in spring and fall, and refill when joints are roughly a quarter-inch low.
- Skip rock salt on pavers in winter since it can damage the surface, and use sand for traction instead.
- Call a professional when pavers rock or sink, joints will not hold sand, or water pools for hours after rain.
Table of Contents
- Your Paver Patio Maintenance Checklist: The 7-Step Routine
- Paver Patio Cleaning: Weekly, Monthly, and After Gatherings
- Seasonal Maintenance: Spring, Summer, Fall, and Winter Tasks
- Weed, Moss, and Joint Growth Control Between Pavers
- Paver Joint Sand Maintenance: Refilling Gaps and Polymeric Sand Decisions
- Pressure Washing Patio Pavers: Settings, Nozzles, and Safety
- Troubleshooting, Repair Thresholds, and When to Call a Pro
- Schedule Your Paver Patio Inspection with Kingdom Paver
- Frequently Asked Questions
Your Paver Patio Maintenance Checklist: The 7-Step Routine
A paver patio maintenance schedule for homeowners works best when it is simple enough to actually follow. The patios that hold up are the ones that get small, regular attention.
Here is the short version: sweep weekly, rinse monthly, check joints twice a year, and deal with stains and weeds the moment you spot them.
The 7 steps below cover the whole cycle:
- Sweep and clear debris
- Rinse the surface
- Spot-clean stains
- Check and refill joint sand
- Pull weeds and moss
- Inspect for movement and damage
- Plan seasonal deep work
Below, we walk through each one with timing and settings.
Paver Patio Cleaning: Weekly, Monthly, and After Gatherings
Paver patio cleaning splits into three rhythms: weekly, monthly, and event-based. Nicolock’s paver patio maintenance guidance recommends sweeping weekly, rinsing monthly, checking for stains after gatherings, and watching drainage after storms. That cadence is a sensible baseline for most homes.

Weekly work is quick. Sweep the whole surface with a stiff broom. Push grit out of the joints rather than into them. Clear leaves from corners and along the house edge.
Monthly work takes longer. Rinse with a garden hose and a medium-pressure nozzle. Do not blast the joints. Let the water run toward the drainage slope and watch where it goes.
After gatherings, do a fast pass. Look for spills, dropped food, and ash. Check the low corner of the patio for standing water.
Seasonal Maintenance: Spring, Summer, Fall, and Winter Tasks
Seasonal maintenance is where most homeowners fall behind. Spring and fall are the heavy months. Summer is mostly upkeep. Winter is mostly prevention. But a generic four-season table is not a schedule. What follows is a month-by-month calendar you can actually put on the refrigerator, plus the climate adjustments that change the timing.
Month-by-Month Homeowner Calendar
| Month | Primary Task | Time Estimate | Trigger to Act |
|---|---|---|---|
| January | Drainage check after freeze-thaw | 15 min | Any thaw with standing water |
| February | Joint inspection (sand depth) | 30 min | Sand 1/4 inch below surface |
| March | Deep clean, weed pull, spring joint refill | 2-3 hrs | First dry week above 50°F |
| April | Polymeric sand cure check (if applied) | 15 min | Loose or crumbly joints |
| May | Pre-summer sealer assessment | 30 min | Water no longer beads |
| June | Shade and moss inspection | 20 min | Green film on north-facing joints |
| July | Mid-summer rinse and stain spot-check | 45 min | After any gathering or storm |
| August | Joint sand top-off before fall rains | 1 hr | Visible gaps or washout |
| September | Leaf management begins | Weekly 15 min | First heavy leaf drop |
| October | Fall deep clean and drainage clearing | 2-3 hrs | Before first frost forecast |
| November | Winter prep: store equipment, check edges | 30 min | Ground freeze expected |
| December | Winter watch: de-icing alternatives | As needed | Ice on walking surfaces |
This calendar assumes a temperate climate with distinct seasons.
How Climate Changes the Schedule
Freeze-thaw cycles. In regions where temperatures cross 32°F repeatedly, joint sand loosens faster. Inspect joints monthly from November through March, not just twice a year.
Heavy rain and humid summers. In wet climates, moss and algae grow year-round. Move the shade inspection from once a season to monthly, and consider a second joint check in midsummer.
Shade and tree cover. A patio under mature trees collects leaves, sap, and bird droppings faster.
Hot, dry climates. Intense sun and low humidity dry out polymeric sand and can cause surface scaling on some pavers.
Set phone reminders for the first of each month using the table above. A two-minute reminder beats a two-hour repair.
Spring and Fall: The Two Heavy Months
Spring is the reset. Rinse the full surface, pull weeds, and look hard at the joints. Winter freeze-thaw cycles can open gaps, and those gaps invite weeds and water. This is also the best window to refill joint sand before summer traffic.
Fall is the prep season. Clear leaves before they mat and hold moisture. Refill thin joints before the wet months. Check that drainage paths and downspouts direct water away from the patio edge.
Summer and Winter: Upkeep and Prevention
Summer is about shade and traffic. Shaded areas grow moss faster. High-traffic zones collect grit. Adjust your sweep frequency to both. Winter care is simple: keep drainage paths clear, skip rock salt on pavers since it can damage the surface over time, and use sand for traction instead.
Weed, Moss, and Joint Growth Control Between Pavers
Weeds and moss grow in the joints, not in the pavers. That single fact changes how you fix them.
A common mistake is spraying weeds and walking away. The root stays, the joint stays open, and new growth returns within weeks.
Start with hand-pulling after rain, when the soil is soft. Use a joint knife or a stiff wire brush for moss.
Then close the gap. A tight joint is the real weed barrier. If sand is low, refill it.
Moss tells you something. It means moisture is sitting in a shaded spot.
Paver Joint Sand Maintenance: Refilling Gaps and Polymeric Sand Decisions
Paver joint sand maintenance is the step that protects everything else. Joint sand locks the pavers, keeps them from shifting, and slows water. When it washes out, the patio starts to move. But not all joint sand is the same, and the decision to top up, replace, or switch to polymeric sand confuses many homeowners.
When to Top Up vs. When to Replace
Check joints twice a year, in spring and fall. Look for sand sitting below the paver surface. Refill when joints are roughly a quarter-inch low or more.
Top up when:
- Sand is low but the existing sand is still granular and drains.
- Joints are uniform and pavers are stable.
- The patio is less than five years old and has not been sealed.
Replace when:
- The old sand has hardened into a crust that sheds water poorly.
- Joints are wide and the sand will not stay after refilling.
- You see consistent washout in the same areas after every rain.
Replacement means removing the old sand to a depth of about half an inch, sweeping in fresh sand, and misting to settle. If you are deciding which sand to use, compare the best sand for paver joints to improve water runoff. This is a half-day project for an average patio.
Polymeric Sand: A Decision Guide
Polymeric sand is a decision, not a default. It hardens and resists washout, which helps in sloped or high-traffic areas. It also costs more and needs a clean, dry surface to set correctly.
Choose polymeric sand when:
- The patio has a noticeable slope or drains toward the house.
- Joints are consistently washing out after storms.
- The patio sees heavy foot traffic or furniture movement.
- You want a longer interval between refills.
Skip polymeric sand when:
- The patio is in a low, poorly drained spot where water sits.
- You plan to seal within the same season (some sealers do not bond well over fresh polymeric sand).
- The pavers are irregular or the joints vary widely in width.
A common pattern is to use polymeric sand on the main traffic areas and regular sand on decorative borders. For a direct comparison focused on weed prevention, read paver sealing vs polymeric sand for weeds. That balances cost and performance.
Sealer Wear: How to Assess and When to Reseal
Sealing is separate from joint sand. It protects the surface and color but does not replace joint sand. Timing varies by product and conditions, so follow the manufacturer’s recommendation rather than a fixed calendar.
Test sealer wear with a water drop. If water beads and rolls off, the sealer is intact. If it soaks in within a minute, it is time to reseal.
Do not seal over damp joints or within 24 hours of rain. Do not seal if the patio has pooling water or loose pavers, fix those first.
Sealing a patio with failing joint sand traps moisture and makes problems worse. Always refill joints before sealing.
Pressure Washing Patio Pavers: Settings, Nozzles, and Safety
Pressure washing patio pavers works, but only with the right settings. Too much pressure strips the surface, blasts out joint sand, and etches the finish.
Use a fan nozzle, not a pinpoint tip. A 25-degree or 40-degree tip spreads the water and lowers the risk of damage.
Test a small hidden area first. If the surface starts to pit or the color lightens, back off the pressure.
Watch the joints. High pressure will empty them fast. Plan to refill joint sand after washing, not before.
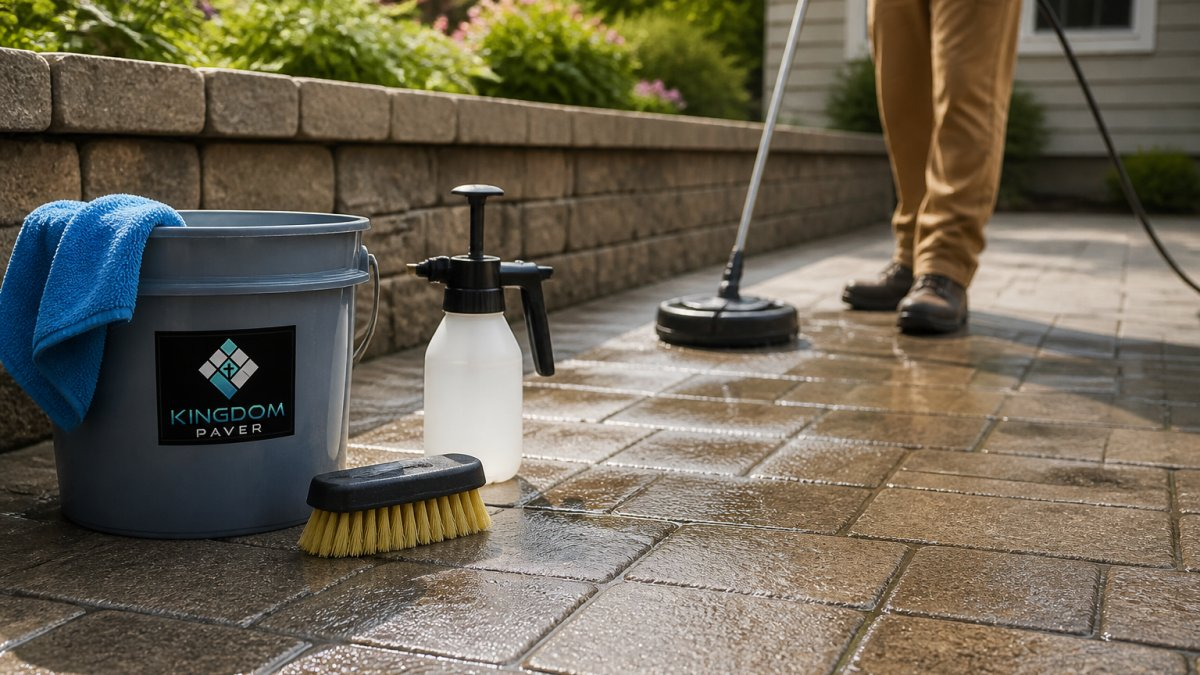
For most patios, a garden hose and a stiff brush handle routine cleaning.
Troubleshooting, Repair Thresholds, and When to Call a Pro
Some problems are maintenance. Others are repair. Knowing the difference saves money and prevents bigger failures.
Fix it yourself when:
- Joint sand is low but pavers are stable
- Weeds are surface-level and pull easily
- Stains lift with mild soap and a brush
- Moss is limited to shaded edges
Call a professional when:
- Pavers rock or sink underfoot
- Joints are wide and the sand will not stay
- Water pools for hours after rain
- Cracks run through multiple pavers
- Edges are spreading outward
Sunken or rocking sections usually mean a base problem, not a surface one. Replacing sand over a failing base just delays the issue. If you spot sunken areas, the repair decision depends on whether the base has failed.
A professional inspection is worth considering before you spend on resealing or replacement, since a pro can assess whether the base is sound.
Schedule Your Paver Patio Inspection with Kingdom Paver
A paver patio maintenance schedule only works if the patio underneath it is sound. If your joints will not hold sand, water pools, or pavers are shifting, the routine above cannot fix it. That is a base or installation issue.
Kingdom Paver has a decade of experience serving Katy and Cypress, with custom building solutions for patios, driveways, walkways, and outdoor living spaces. For current pricing, visit the Kingdom Paver website or request a quote.
If you are ready to stop guessing, contact Kingdom Paver to discuss what your patio needs.
Frequently Asked Questions
How often should you clean a paver patio?
Sweep weekly to remove leaves, dirt, and debris before it works into the joints. Rinse the surface monthly with a garden hose, and spot-clean stains after gatherings or storms. A deeper clean with a mild detergent and stiff brush can wait until spring or fall, or whenever the patio looks dull. This cadence keeps paver patio maintenance manageable and prevents small messes from turning into stubborn stains.
What is the best way to clean patio pavers?
Start with a dry sweep, then rinse with a hose. For surface dirt, scrub with a stiff brush and a mild dish soap solution, then rinse thoroughly. Avoid harsh acids unless the paver manufacturer recommends them for a specific stain. For pressure washing patio pavers, use a fan tip and keep the nozzle moving to protect the surface and joint sand. Always test a small area first.
How often should pavers be sealed?
Sealing intervals vary by product and conditions. Check your manufacturer’s recommendations and reseal when water stops beading on the surface.
Can you pressure wash a paver patio without damaging it?
Yes, if you use the right settings. Use a fan nozzle and hold the wand at a consistent distance. Never use a zero-degree tip, which can etch the surface or blast out joint sand. Work in overlapping passes, and avoid concentrating on one spot. After pressure washing, inspect the joints and refill any sand that was displaced.
Your patio should be the easiest part of your yard to maintain, not the hardest. If maintenance keeps turning into repair, it is time to look at the foundation, not the broom. Get started with Kingdom Paver and build an outdoor space that holds up season after season.


